Pin It
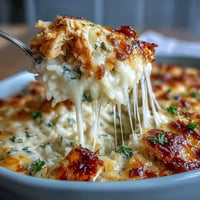
 The first time I made these was out of pure desperation at a party when someone asked what I was bringing to the appetizer table. I'd just eaten a pickle spear and cheese slice separately, standing at my kitchen counter in that weird moment of boredom, and something clicked—what if these two things were meant to be together, but crispy? Thirty minutes later, I had golden, salty, tangy bites that people couldn't stop eating. Now they're my go-to when I need something that feels fancy but tastes like a delicious accident.
I'll never forget bringing these to my friend's game night and watching everyone's face when they bit into one. The cheese stretched, the pickle burst with brine, and you could hear the crunch from across the room. Someone asked for the recipe before they'd even finished chewing, which is basically the highest compliment a cook can get.
Ingredients
- Dill pickle spears (8 large, patted dry): The star of the show—make sure they're completely dry or the cheese won't stick properly, and the bites will slip apart when frying.
- Mozzarella cheese slices (16): I've used cheddar, provolone, and pepper jack too, but mozzarella gives you that classic gooey stretch; choose whatever melts smoothly for you.
- Large egg (1): This is your adhesive, so don't skip it or swap it out with anything else.
- Milk (2 tbsp): Thins the egg just enough so the breadcrumbs coat evenly without clumping.
- Gluten-free panko breadcrumbs (1 cup): Regular panko works too, but panko stays crispier longer and gives a better texture than regular breadcrumbs.
- Garlic powder (1/2 tsp): Adds savory depth that makes the pickle and cheese taste even more intentional.
- Smoked paprika (1/2 tsp): Don't skip this—it gives color and a subtle smoky warmth that makes people wonder what's in them.
- Black pepper (1/4 tsp): Just enough bite to round out the flavors.
- Vegetable oil (for frying): You need neutral oil that can handle 350°F without smoking; any brand works fine.
Tired of Takeout? 🥡
Get 10 meals you can make faster than delivery arrives. Seriously.
One email. No spam. Unsubscribe anytime.
Instructions
- Dry your pickles:
- Pat each pickle spear thoroughly with paper towels until they feel completely dry. Moisture is the enemy here—wet pickles won't hold the cheese or breadcrumb coating.
- Cut and wrap:
- Cut each pickle spear in half, lay out a cheese slice, place a pickle piece on the edge, and roll it up tightly. If the cheese wants to slide, secure it with a toothpick—this matters.
- Set up your coating station:
- Whisk egg and milk in one shallow bowl until smooth. In another bowl, mix breadcrumbs with garlic powder, smoked paprika, and black pepper so the seasoning is even throughout.
- Coat each bite:
- Dip each cheese-wrapped pickle into the egg mixture, then immediately roll it in the breadcrumb mixture, pressing gently so the crumbs stick. The coating should cover every surface.
- Heat your oil:
- Pour oil into a deep skillet until it reaches about 1 inch deep. Use a thermometer to get it to 350°F—this temperature is crucial because it's hot enough to crisp the outside without burning the coating before the cheese melts.
- Fry in batches:
- Working with a few bites at a time (overcrowding the pan drops the oil temperature), fry for 2 to 3 minutes total, turning them occasionally so they brown evenly on all sides. They should be golden and feel firm when you pick them up.
- Drain and rest:
- Transfer fried bites to a paper towel–lined plate. Remove the toothpicks while they're still warm, and serve immediately while the cheese is still melty and the coating is still crackling.
 Pin It
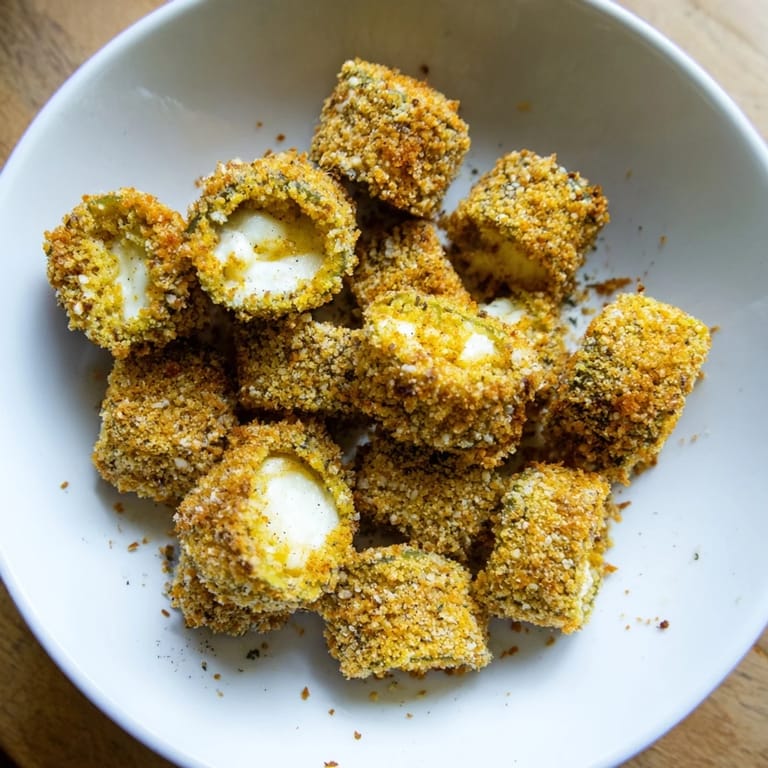
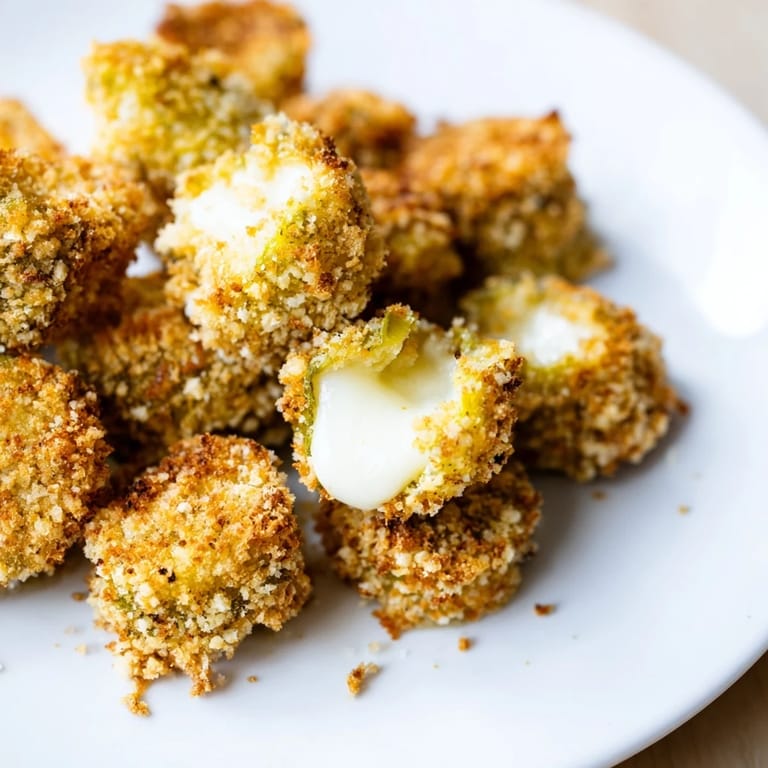
 There was a moment at that game night when someone cut open a bite to show their friend the layers inside—the golden breadcrumb shell, the melted cheese, the bright green pickle in the center. It wasn't just food anymore; it was proof that simple ingredients, treated with care, become something people remember.
Why the Pickle-and-Cheese Combo Works
The magic happens because of contrast—the cool, salty tanginess of the pickle cuts through the richness of the melted cheese, and the crispy coating gives you texture. It's the same reason pickles go with cheeseburgers, but concentrated into a bite-sized piece. The flavor profile feels unexpected but tastes right, which is why people keep coming back for more.
How to Customize Your Bites
Once you've made these once, you'll start experimenting. Try spicy pickles if you like heat, or use pepper jack cheese for extra kick. You can even add a pinch of cayenne to the breadcrumb mixture or swap the smoked paprika for regular paprika if that's what you have. The foundation is solid enough that it handles tweaks.
Serving and Storage Tips
These are best served hot and crispy, straight out of the pan. If you need to make them ahead, fry them, let them cool completely, and store them in an airtight container in the fridge for up to 3 days. Reheat them in a 350°F oven for about 5 minutes to get the crispness back.
- Ranch, spicy mayo, or marinara make excellent dipping sauces that complement the pickle-cheese flavor.
- If frying feels too messy, bake them at 425°F on a parchment-lined sheet, spray with oil, and bake for 12 to 15 minutes, flipping once.
- Make these ahead for parties—your guests will think you spent way more effort than you actually did.
 Pin It
 These bites have become my secret weapon for any gathering. They're simple enough that anyone can make them, but impressive enough that people think you're a genius in the kitchen.
Recipe Questions & Answers
- → What type of cheese works best for these bites?
Firm melting cheeses like mozzarella, cheddar, provolone, or pepper jack provide creamy texture and flavor while holding shape during frying.
- → Can these bites be baked instead of fried?
Yes, baked at 425°F for 12–15 minutes on a parchment-lined sheet, flipped once, they become crispy without frying.
- → How should I prepare the pickles for best results?
Pat dill pickle spears dry and cut in half to ensure the coating adheres well and achieves ultimate crispiness.
- → What dipping sauces pair well with these bites?
Ranch, spicy mayo, and marinara complement the tangy and cheesy flavors perfectly.
- → Are these bites suitable for gluten-free diets?
Use gluten-free panko breadcrumbs and verify all ingredients to keep the dish gluten-free.