 Pin It
 There's a particular afternoon I can't quite shake from memory, when my neighbor brought over a tin of homemade lemon bars and casually mentioned she'd infused them with Earl Grey tea. I was skeptical at first, honestly skeptical in that polite way you are when someone suggests something unconventional. But the moment I bit into one, something clicked, and suddenly I understood how floral tea, bright citrus, and tropical guava could sing together. That tin led me here, experimenting in my kitchen until I captured that exact magic.
I made these for my book club last spring, and something unexpected happened, the moment people tasted them, the conversation stopped. Not in an awkward way, but in that rare way where food actually makes people pause and notice. Someone asked what was in them, and when I explained the tea, it was like I'd revealed a secret ingredient to something they thought they already understood.
Ingredients
- Unsalted butter: Use good quality here because you'll taste it, especially in the crust where it carries that rich foundation.
- Granulated sugar: Don't skip the creaming step, this is where you build air into your base and set the texture right.
- All-purpose flour: Measure it by spooning into your measuring cup and leveling off, not scooping directly, this prevents a dense crust.
- Fine sea salt: A pinch in the crust balances the sweetness and makes everything taste more intentional.
- Earl Grey tea bags: Open the bags and use just the loose tea, you don't want any paper or dust in your batter.
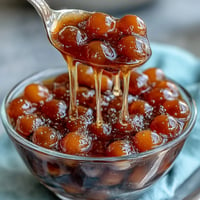
- Guava paste: This is found in specialty sections or Latin markets, it's dense and gorgeous and worth seeking out.
- Eggs: Room temperature eggs whisk into the filling more smoothly, whisking them is the trick to that custardy texture.
- Lemon juice: Fresh squeezed only, bottled just doesn't have the same brightness and presence.
- Lemon zest: Grate it fresh on a microplane, the oils are what make lemon taste like memory.
- Powdered sugar: For dusting at the very end, it softens slightly and clings to the bars in the most elegant way.
Tired of Takeout? 🥡
Get 10 meals you can make faster than delivery arrives. Seriously.
One email. No spam. Unsubscribe anytime.
Instructions
- Set your stage:
- Preheat the oven to 350°F and line your pan with parchment paper, leaving overhang so you can lift the whole thing out later. This step saves you from scratching your pan and losing little edge pieces to the sides.
- Build the butter base:
- Cream the softened butter and sugar together until it looks pale and fluffy, about 3 to 4 minutes of patient mixing. This incorporates air and sets the stage for a tender crust that tastes like it melts on your tongue.
- Mix in the tea and flour:
- Add the flour, salt, and the contents of one Earl Grey tea bag to the butter mixture, stirring until a crumbly dough forms. You want it to look like coarse breadcrumbs, not a smooth ball.
- Press and bake the crust:
- Press the dough evenly across the bottom of your prepared pan, using your fingers or the bottom of a measuring cup to keep it level. Bake for 18 to 20 minutes until the edges turn lightly golden and it feels set.
- Melt the guava:
- While the crust bakes, combine the guava paste and water in a small saucepan over low heat, stirring constantly until it loosens into a thick, spreadable consistency. It should look like jam, smooth and inviting.
- Spread the guava layer:
- The moment the crust comes out of the oven, carefully spread the warm guava paste evenly across it, working quickly before it cools and sets. The warmth helps it settle into every corner.
- Prepare the filling:
- In a large bowl, whisk the room temperature eggs and sugar together until the mixture is smooth and pale, then add the flour, baking powder, Earl Grey tea contents, lemon juice, lemon zest, and salt. Whisk until everything is fully incorporated with no lumps hiding in the corners.
- Pour and bake the filling:
- Pour the lemon mixture over the guava layer and return the pan to the oven for 15 to 18 minutes, until the center is just set and barely jiggles when you gently shake the pan. It will continue to set as it cools, so don't overbake.
- Cool with patience:
- Let the bars cool completely in the pan on a wire rack at room temperature, then refrigerate for at least 2 hours so everything sets properly and the flavors settle into themselves.
- Cut and finish:
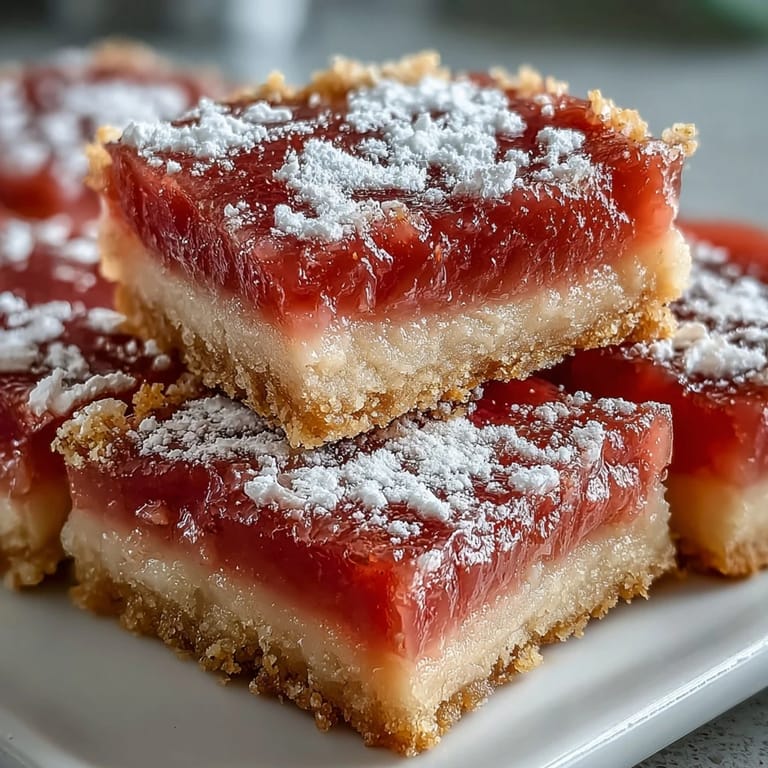
- Once chilled, use the parchment overhang to lift the entire block out of the pan, then cut into 16 even squares using a sharp knife dipped in warm water between cuts. Dust with powdered sugar just before serving so it stays pristine and bright.
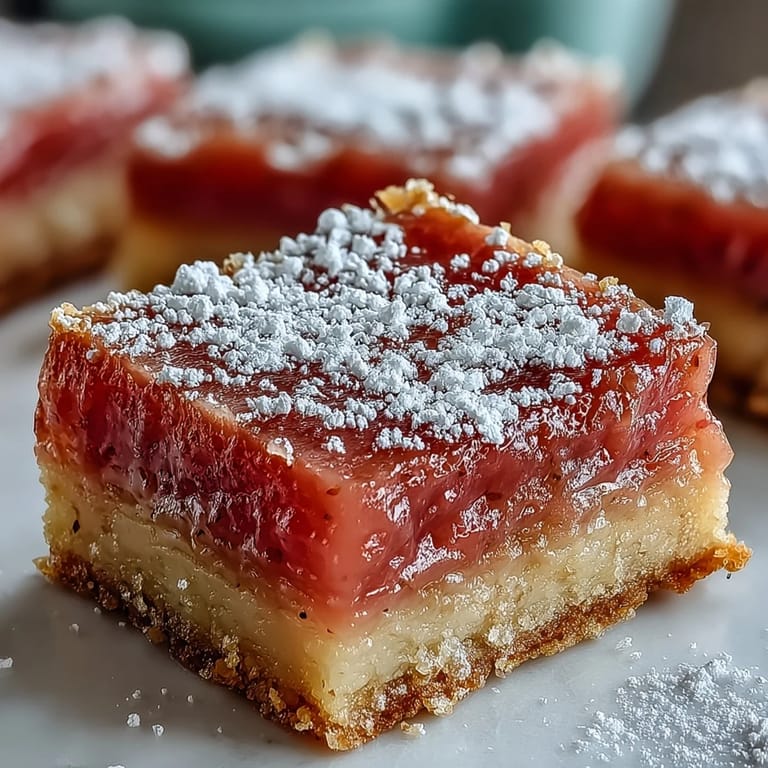 Pin It
 There's a quiet magic in biting into something that tastes like three completely different ideas decided to become friends. That's what these bars are, a moment where sophistication and comfort shake hands.
Why Earl Grey Belongs in Dessert
Tea in baking seems intimidating at first, but Earl Grey specifically has this perfumed floral quality that doesn't fight with citrus, it dances with it. The bergamot notes create a backdrop that makes the lemon brighter and the guava warmer, like they're all standing in better light. I learned this by accident when I steeped tea in the juice and accidentally created something transcendent.
The Guava Layer Secret
This middle layer does something critical that most people don't realize, it creates a barrier between the filling and crust so the bars stay tender instead of becoming soggy. It also adds a fruity complexity that stops the dessert from feeling too citrus heavy. Spreading it while the crust is still warm ensures it bonds properly and doesn't shift when you pour the filling on top.
Making These Your Own
The beauty of this recipe is that it's more flexible than it first appears. You can adjust the lemon to your taste by adding the zest of half a lemon if you prefer subtlety, or a full second lemon if you want it singing loudly. The Earl Grey can be steeped in the lemon juice for 10 minutes before whisking into the filling for an even more pronounced tea flavor that lingers.
- Try pairing these with Earl Grey tea or sparkling wine for an afternoon that feels intentional and unhurried.
- Store the bars in an airtight container in the refrigerator for up to 5 days, though honestly they rarely last that long.
- You can make these a day ahead and dust with powdered sugar right before serving for the best presentation.
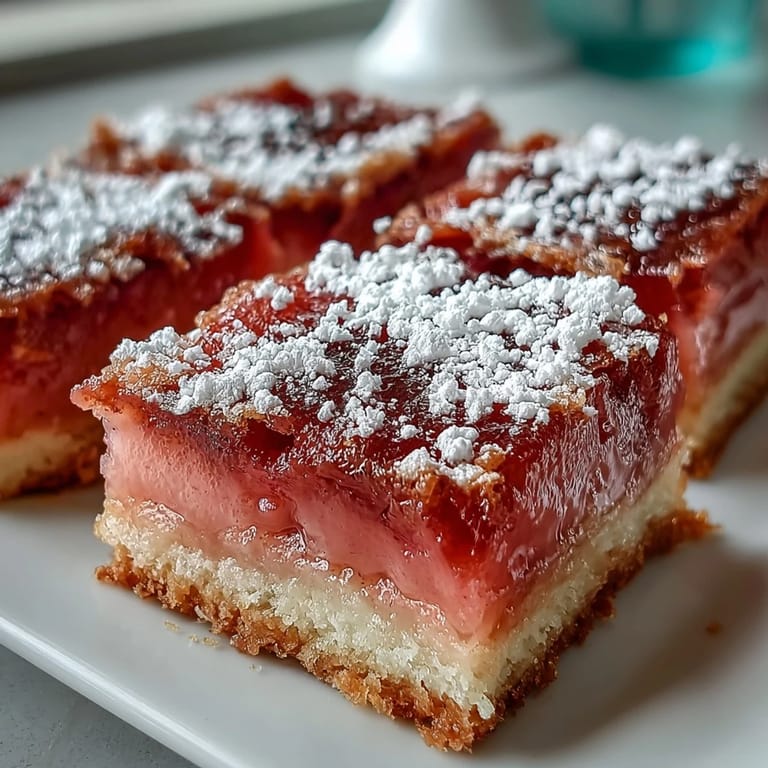 Pin It
 These bars have become my answer to the question of what to bring when I want someone to know I actually care. They're elegant without being pretentious, surprising without being weird, and they taste like an afternoon spent in a really good kitchen.
Recipe Questions & Answers
- → Can I make these bars ahead of time?
Yes, these bars actually improve when made ahead. They need at least 2 hours of refrigeration to set properly, and you can store them in the refrigerator for up to 3 days. The flavors meld beautifully overnight. Add the powdered sugar dusting just before serving.
- → What can I substitute for guava paste?
Guava jelly works well as a substitute, though you may need to reduce the water slightly since jelly is thinner than paste. Alternatively, apricot preserves or passion fruit curd can create a different but equally delicious variation.
- → How do I know when the bars are done baking?
The bars are finished when the center is just set and no longer jiggles when you gently shake the pan. The edges should be lightly golden. Avoid overbaking as this can cause the filling to become rubbery or crack.
- → Can I enhance the Earl Grey flavor?
Absolutely. For a more pronounced tea flavor, steep 2 Earl Grey tea bags in the lemon juice for 10 minutes before straining and adding to the filling. You can also infuse the butter with tea leaves before making the crust.
- → What's the best way to cut clean bars?
Chill the bars thoroughly before cutting. Use a sharp knife dipped in hot water and wiped clean between each cut for the cleanest edges. The parchment overhang makes lifting the entire batch out for easier cutting.
- → Are these suitable for freezing?
Yes, these bars freeze well. Wrap individual portions tightly in plastic wrap and store in the freezer for up to 2 months. Thaw in the refrigerator overnight and dust with powdered sugar before serving.